If you’re a baker, you know that presentation is everything. The way your cakes look can be just as important as the way they taste. That’s why it’s important to have the right packaging to showcase your creations. However, buying pre-made cake boxes can be expensive, and they might not fit the specific dimensions of your cakes. That’s where DIY cake boxes come in. In this article, we’ll show you how to create your own unique packaging for your cakes.
Measure Your Cake
Before you start creating your cake box, you’ll need to measure your cake. Measure the height, width, and length of your cake. Make sure to add an extra inch to each measurement to allow for space in the box.
Create a Template
Using your measurements, create a template for your cake box on a piece of cardstock paper. Draw out the shape of the box, making sure to include flaps for the lid and bottom. Cut out the template using scissors.
Fold and Glue
Fold the flaps of the lid and bottom of the box along the lines you drew. Apply glue to the flaps and attach them to the sides of the box.
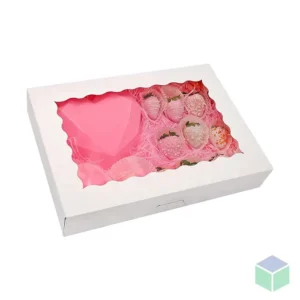
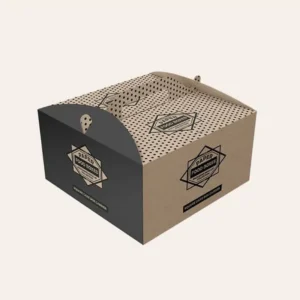
Decorate
Now that your box is assembled, it’s time to decorate it. You can use stickers, ribbon, or even draw on the box with markers or paint. Get creative and make your box unique to your brand.
Store Your Cake
Once your box is decorated, it’s ready to use. Simply place your cake inside and secure the lid with tape or a ribbon.